Manage account roles
YugabyteDB Managed uses role-based access control (RBAC) to manage access to your YugabyteDB Managed account. Using roles, you can enforce the principle of least privilege (PoLP) by ensuring that users have the precise permissions needed to fulfill their roles while mitigating the risk of unauthorized access or accidental breaches. A role defines a set of permissions that determine what features can be accessed by account users who have been assigned that role.
YugabyteDB Managed includes built-in roles, and you can define custom roles for team members to restrict access to specific account features. For information on assigning roles to users, refer to Change a user's role.
Roles are also assigned to API keys to delineate what functionality is available to users accessing your account using either the YugabyteDB Managed API or YBM CLI. You assign roles to API keys when creating the key; refer to Create an API key.
YugabyteDB Managed account users are not the same as database users
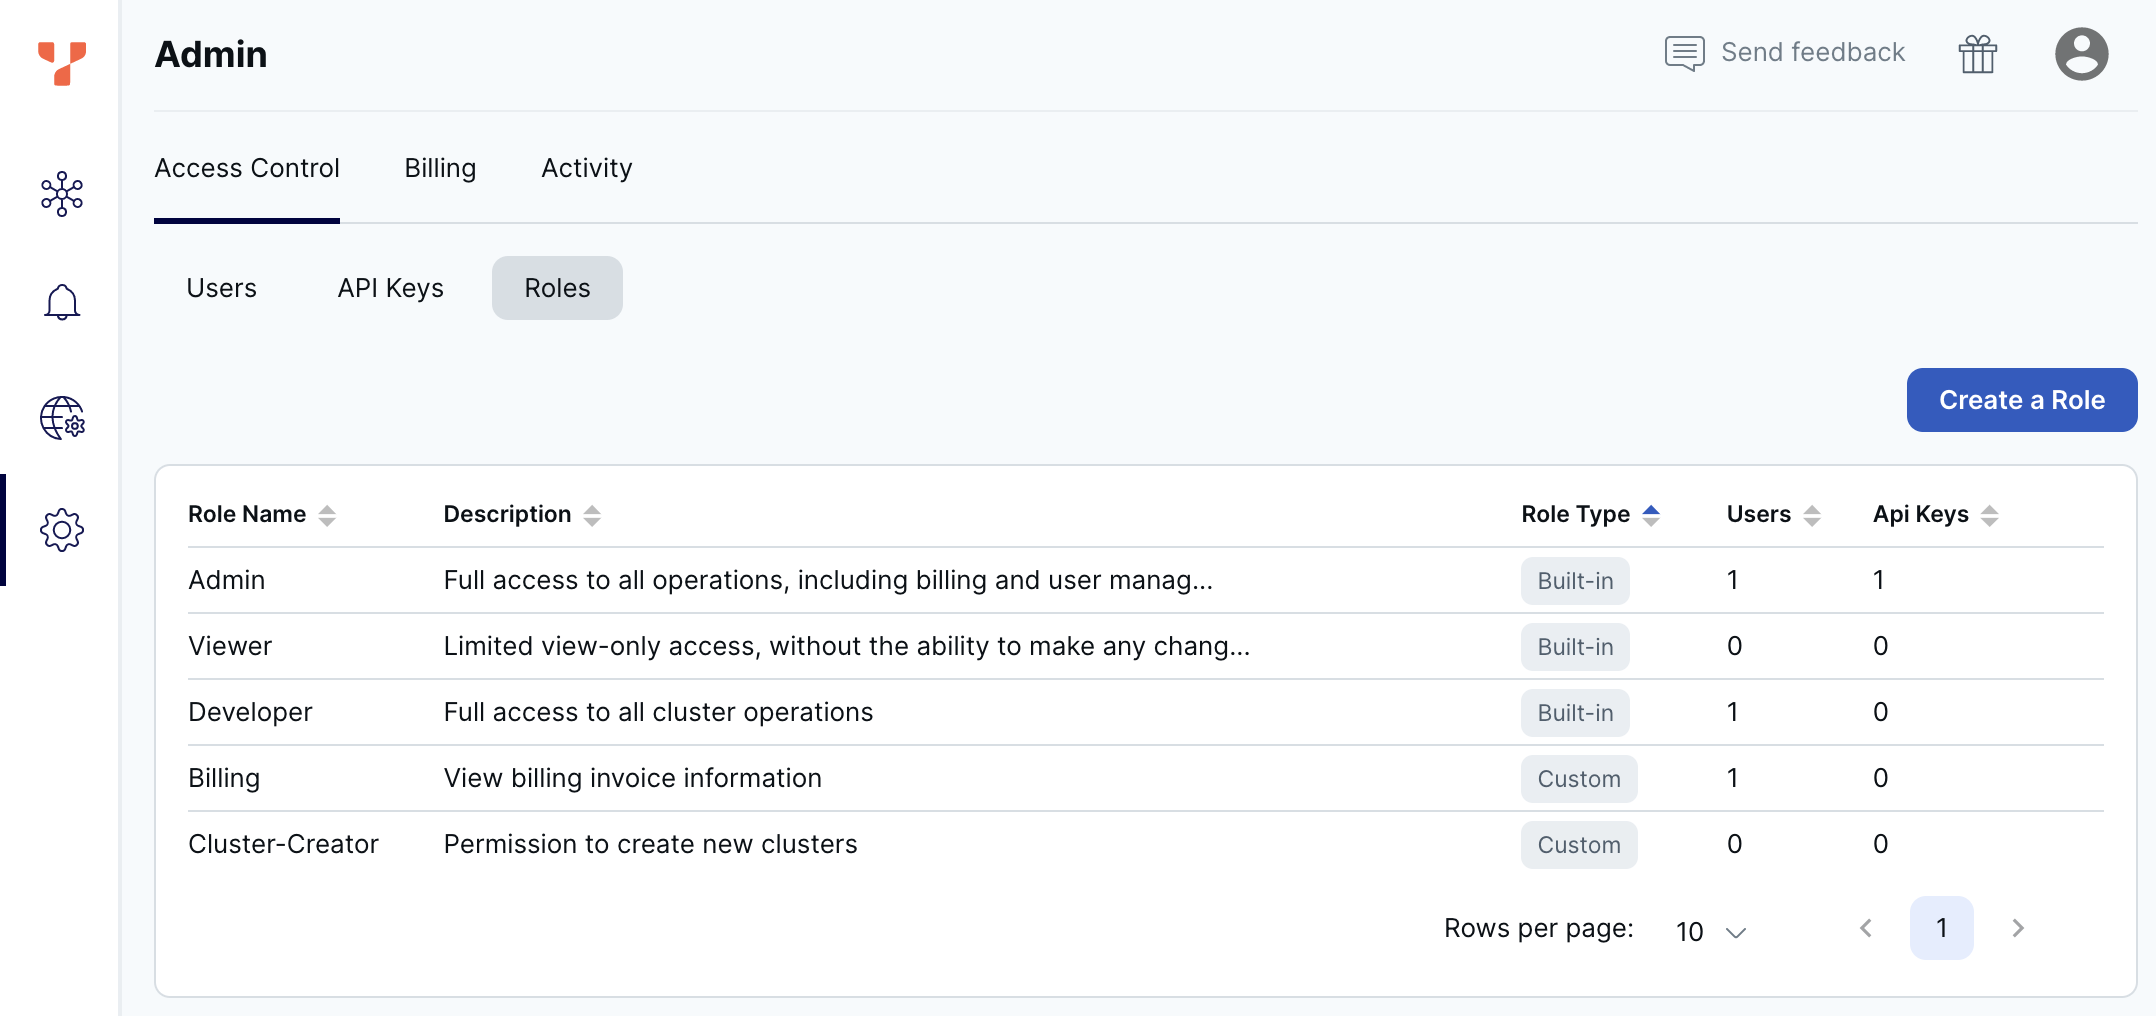
Account users and roles are distinct from the users and roles on your YugabyteDB databases. For information on managing database users, refer to Add database users.The Roles tab displays a list of roles that are defined for your account, including the role name, description, type, the number of users assigned the role, and the number of API keys created for the role.

To view role details, select the role in the list.
Built-in roles
YugabyteDB Managed includes built-in roles for managing your account:
-
Admin - The Admin role provides full access to all features. There must always be at least one Admin user. The primary account user (the user who created the YugabyteDB Managed account) is automatically assigned an Admin role.
-
Developer - The Developer role provides access to all features, with the exception of the following administrative tasks:
- invite users
- delete or change the role of other users
- change login methods
- create or revoke API keys
- create a billing profile
- view account activity
-
Viewer - The Viewer role has all view permissions, exclusively, and can't perform any tasks.
You can't delete or edit built-in roles.
Create a role
To create a custom role, do the following:
- Navigate to Admin > Access Control > Roles, then click Create a Role to display the Create a Role dialog.
- Enter a name for the role.
- Enter a description for the role.
- Click Select Permissions.
- Select the permissions to assign to the role and click Select when you are done.
- Click Save.
To create a custom role from an existing role, do the following:
- Navigate to Admin > Access Control > Roles, then select the role to clone to display the Role Details sheet.
- For a built-in role, click Clone Role; for a custom role, click Actions and choose Clone Role.
- Enter a name for the role.
- Enter a description for the role.
- Click Edit Permissions.
- Select the permissions to assign to the role and click Select when you are done.
- Click Save.
Edit a role
You can only edit custom roles. To edit a custom role, do the following:
- Navigate to Admin > Access Control > Roles, then select the custom role to modify to display the Role Details sheet.
- Click Actions and Edit Role.
- Edit the name of the role.
- Edit the description of the role.
- Click Edit Permissions.
- Select the permissions to assign to the role and click Select when you are done.
- Click Save.
Delete a role
You can only delete custom roles, and only if the role is not assigned to any users.
To delete a custom role, do the following:
- Navigate to Admin > Access Control > Roles, then select the custom role to delete to display the Role Details sheet.
- Click Actions and Delete Role.
- Enter the role name and click Delete Role.