Back up and restore clusters
YugabyteDB Managed performs full cluster (all namespaces) level backups, and the backups are stored in the same region as your cluster. 100GB/month of basic backup storage is provided for every vCPU; more than that and overage charges apply. Refer to Cluster costs.
By default, clusters are backed up automatically every 24 hours, and these automatic backups are retained for 8 days. The first automatic backup is triggered after 24 hours of creating a table, and is scheduled every 24 hours thereafter.
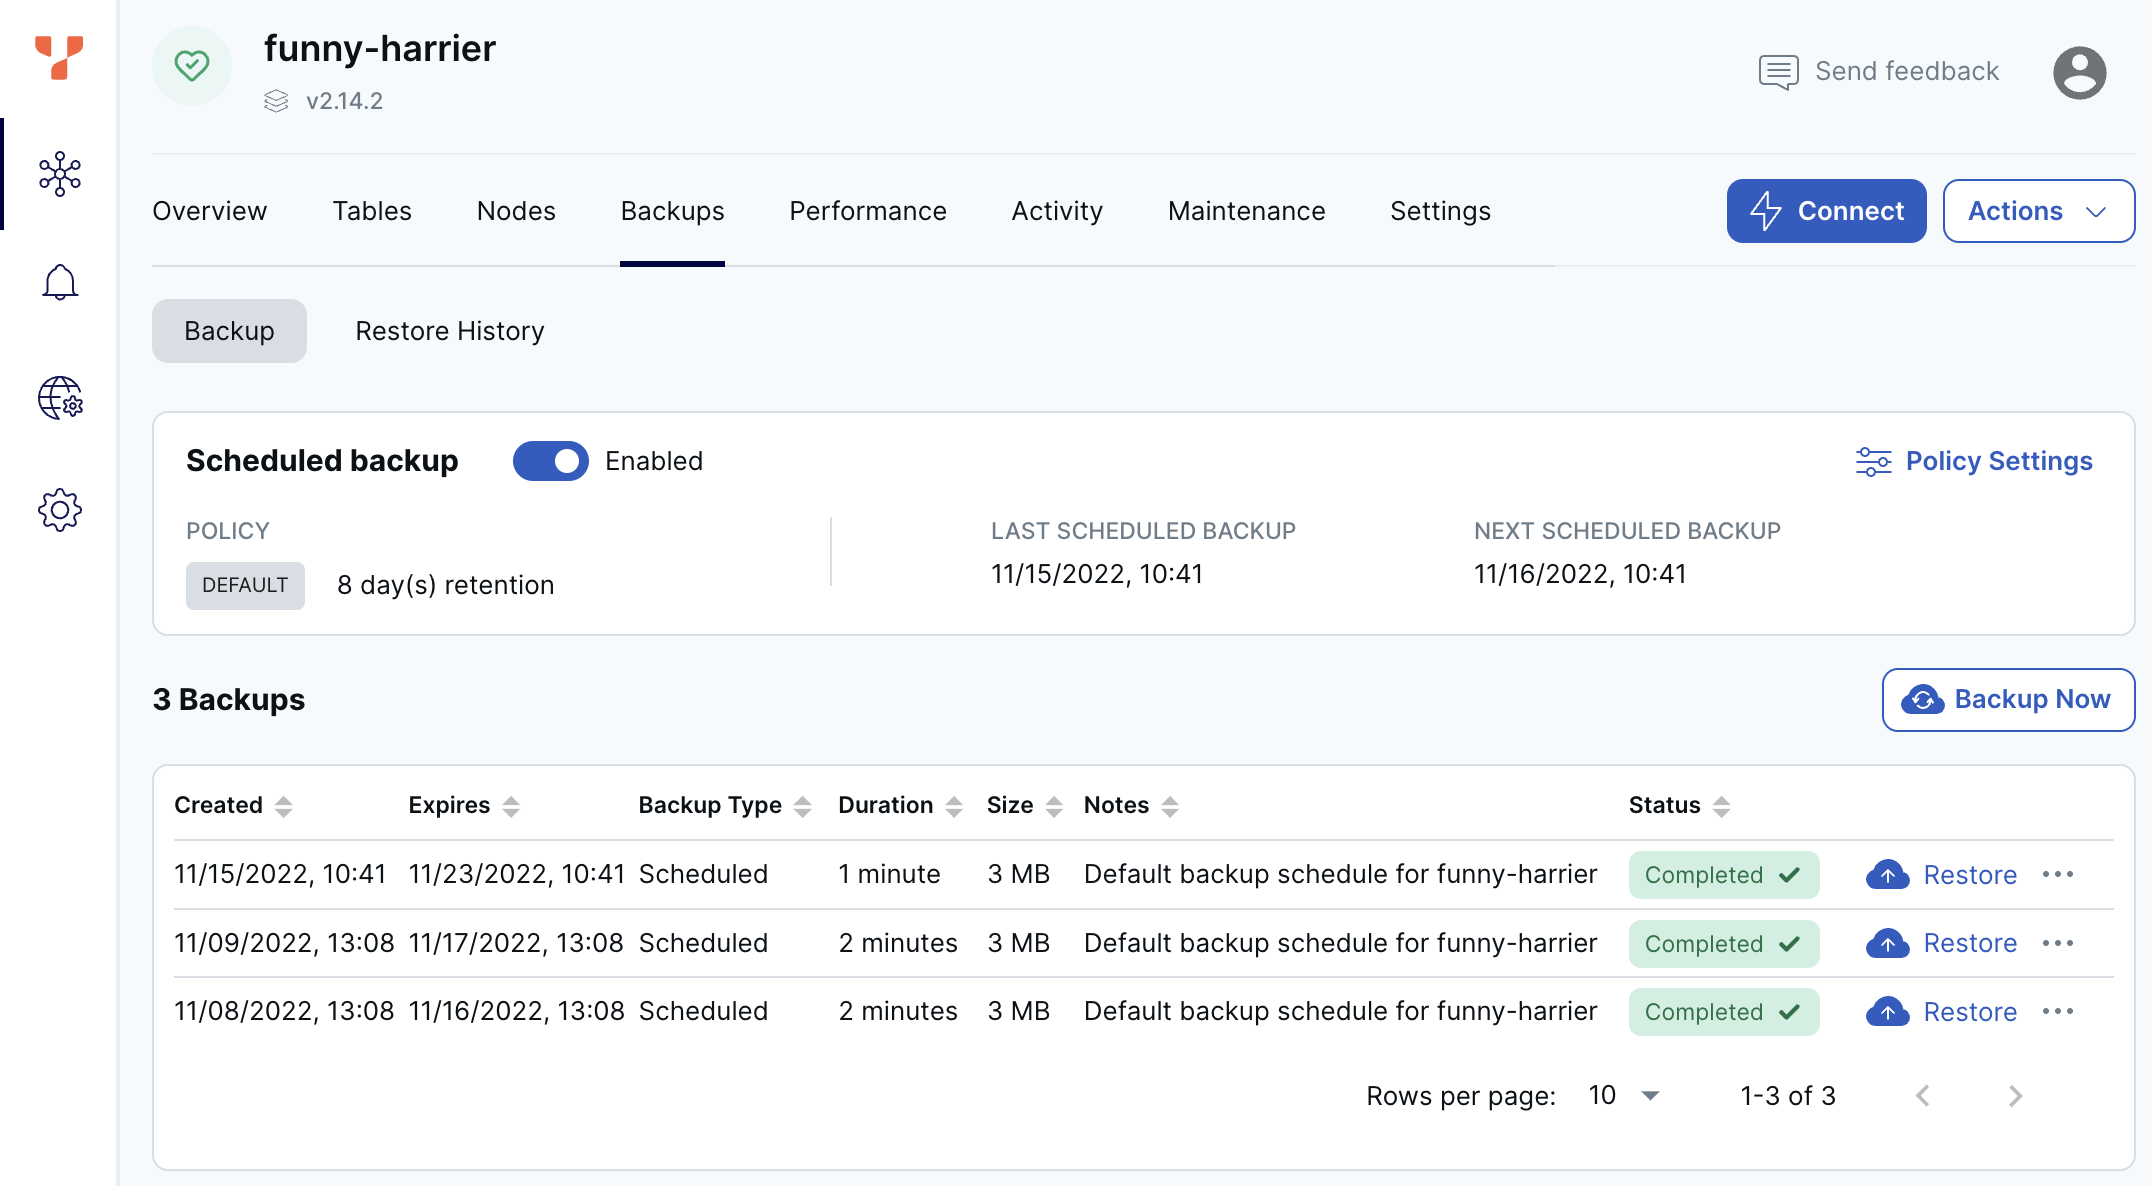
Back up and restore clusters, configure the automatic backup policy, and review previous backups and restores using the cluster Backups tab.
To change the backup schedule, create your own schedule. To enable or disable scheduled backups, click the Scheduled backup option.
You can also perform backups on demand and manually restore backups.

To delete a backup, click the Delete icon.
To review previous backups, click Backup. To review previous restores, click Restore.
Limitations
If some cluster operations are already running during a scheduled backup window, the backup may be prevented from running.
Backups that don't run are postponed until the next scheduled backup. You can also perform a manual backup after the blocking operation completes.
Backups are not supported for Sandbox clusters.
Recommendations
- Don't perform cluster operations at the same time as your scheduled backup.
- Configure your maintenance window and backup schedule so that they do not conflict.
- Performing a backup or restore incurs a load on the cluster. Perform backup operations when the cluster isn't experiencing heavy traffic. Backing up during times of heavy traffic can temporarily degrade application performance and increase the length of time of the backup.
- Avoid running a backup during or before a scheduled maintenance.
On demand backups
Typically, you perform on-demand backups before making critical planned changes to the database.
To back up a cluster:
- On the Backups tab, click Backup Now to display the Create Backup dialog.
- Set the retention period for the backup.
- Optionally, enter a description of the backup.
- Click Backup Now.
The backup, along with its status, is added to the Backups list.
Schedule backups
Use scheduled backups to override the default 24 hour/8-day retention policy with your own schedule.
Any changes to the retention policy are applied to new backups only.
To schedule backups for a cluster:
- On the Backups tab, click Policy Settings to display the Backup Policy Settings dialog.
- Set the retention period for the backup. The maximum retention is 31 days.
- Choose Simple to set the frequency for the backups. Choose Custom to select the days of the week to run backups, along with the start time.
- Click Update Policy.
Restore a backup
Before performing a restore, ensure the following:
- the target cluster is sized appropriately; refer to Scale and configure clusters
- if the target cluster has the same namespaces as the source cluster, those namespaces don't have any tables
To review previous restores, click Restore.
To restore a backup of a cluster:
- On the Backups tab, select a backup in the list and click the Restore icon to display the Restore Backup dialog.
- Select the target cluster.
- Click Restore.