Configure the backup target
You can configure a variety of backup targets for your YugabyteDB universe data.
Local storage
If your YugabyteDB universe has one node, you can create a local directory on a T-Server to which to back up, as follows:
-
Navigate to Universes, select your universe, and then select Nodes.
-
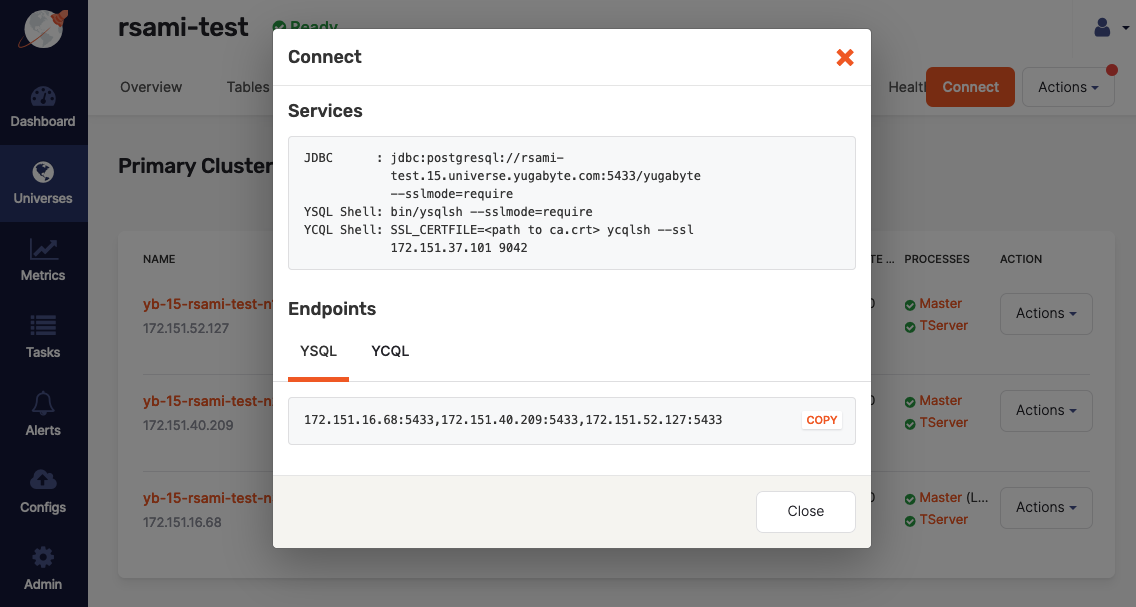
Click Connect.
-
Take note of the services and endpoints information displayed in the Connect dialog, as shown in the following illustration:
-
While connected using
ssh, create a directory/backupand then change the owner toyugabyte, as follows:sudo mkdir /backup; sudo chown yugabyte /backup
If there is more than one node, you should consider using a network file system mounted on each server.
Amazon S3
You can configure Amazon S3 as a backup target as follows:
-
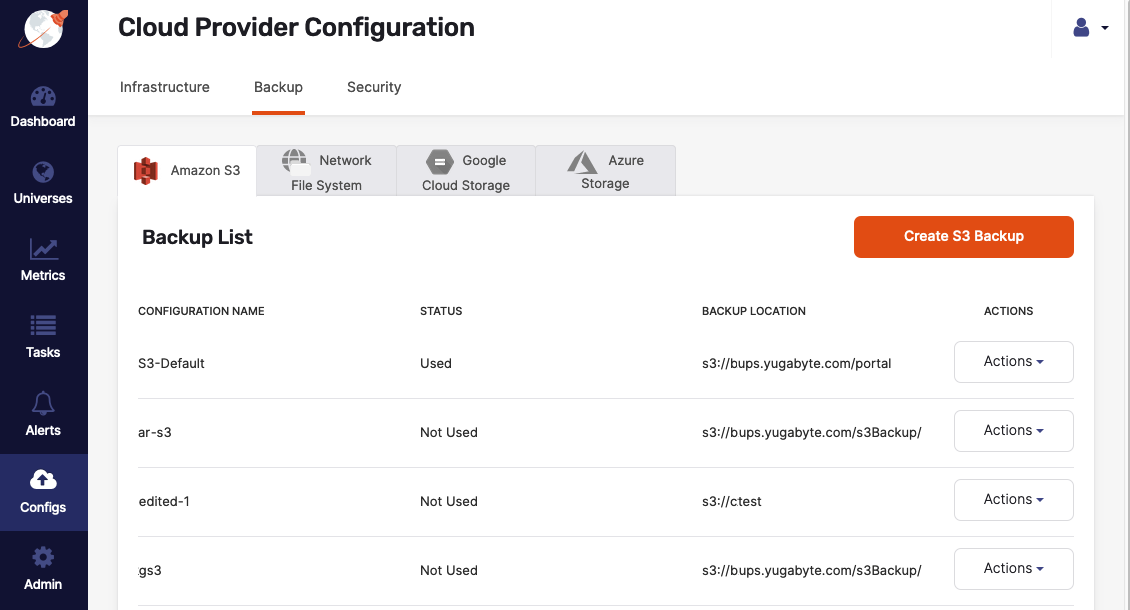
Select Configs > Backup > Amazon S3, as per the following illustration:
-
Click Create S3 Backup.
-
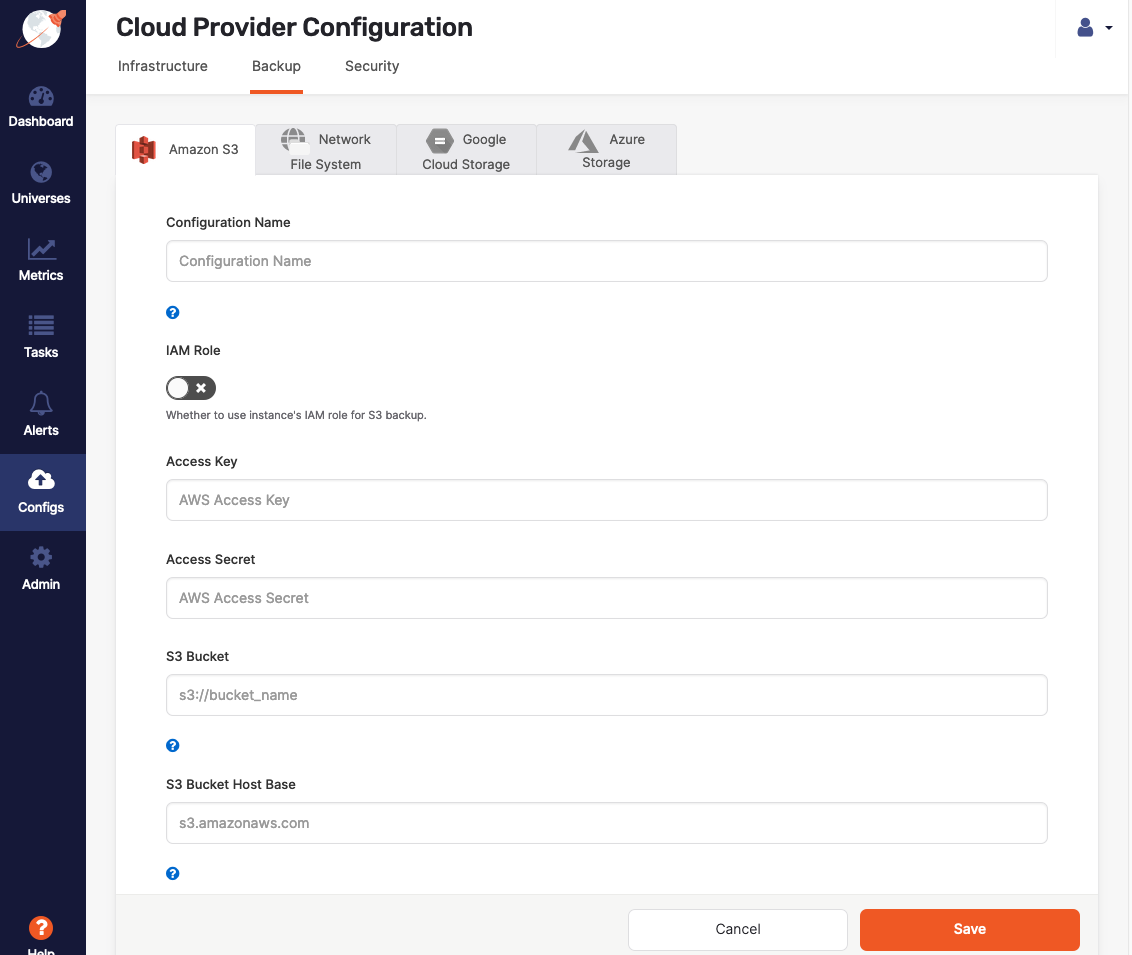
Complete the form shown in the following illustration:
-
Click Save.
Network File System
You can configure the network file system as a backup target as follows:
-
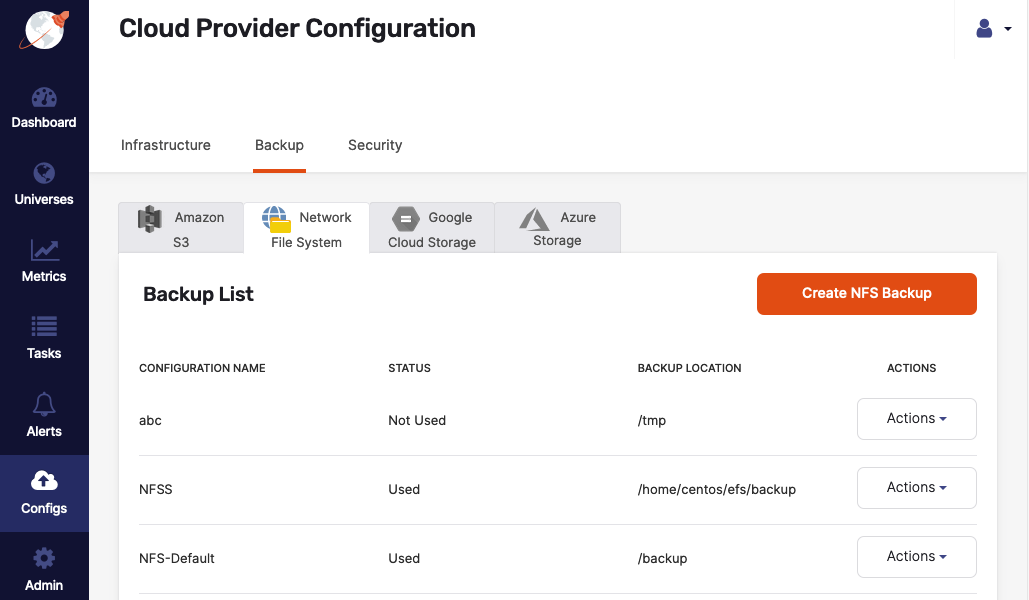
Select Configs > Backup > Network File System, as per the following illustration:
-
Click Create NFS Backup.
-
Complete the form shown in the following illustration:
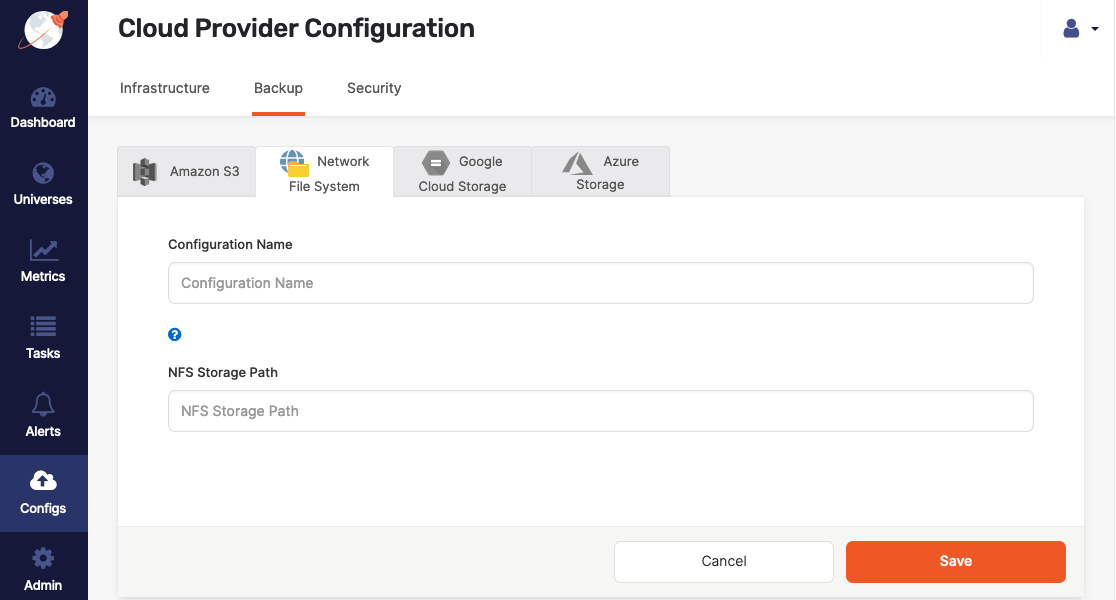
-
Click Save.
Google Cloud Storage
You can configure Google Cloud Storage (GCS) as a backup target as follows:
-
Select Configs > Backup > Google Cloud Storage, as per the following illustration:
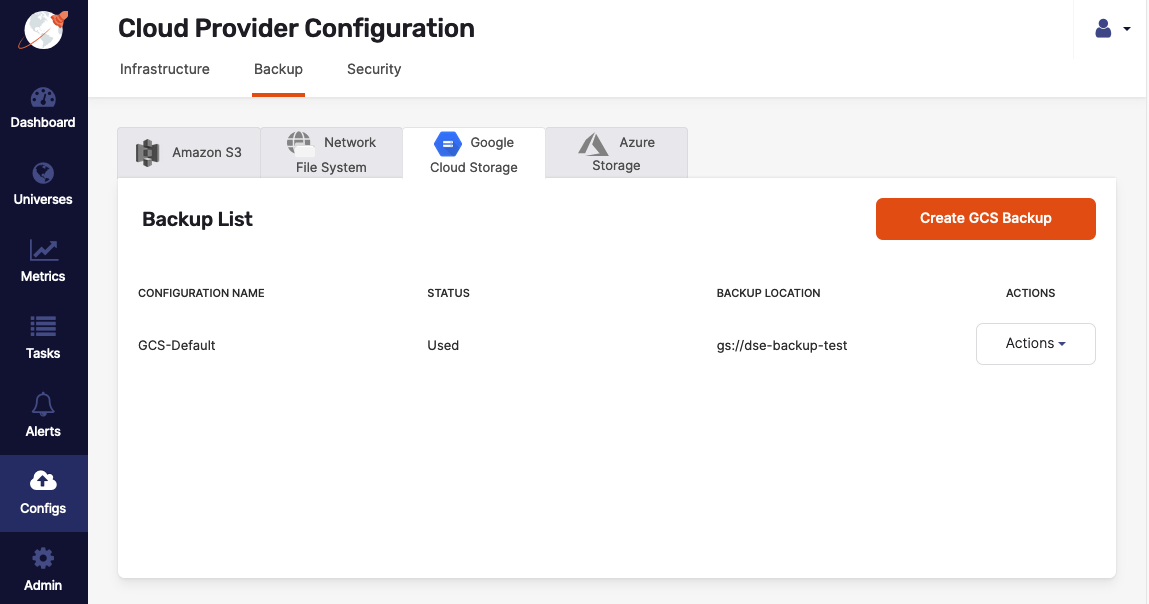
-
Click Create GCS Backup.
-
Complete the form shown in the following illustration:
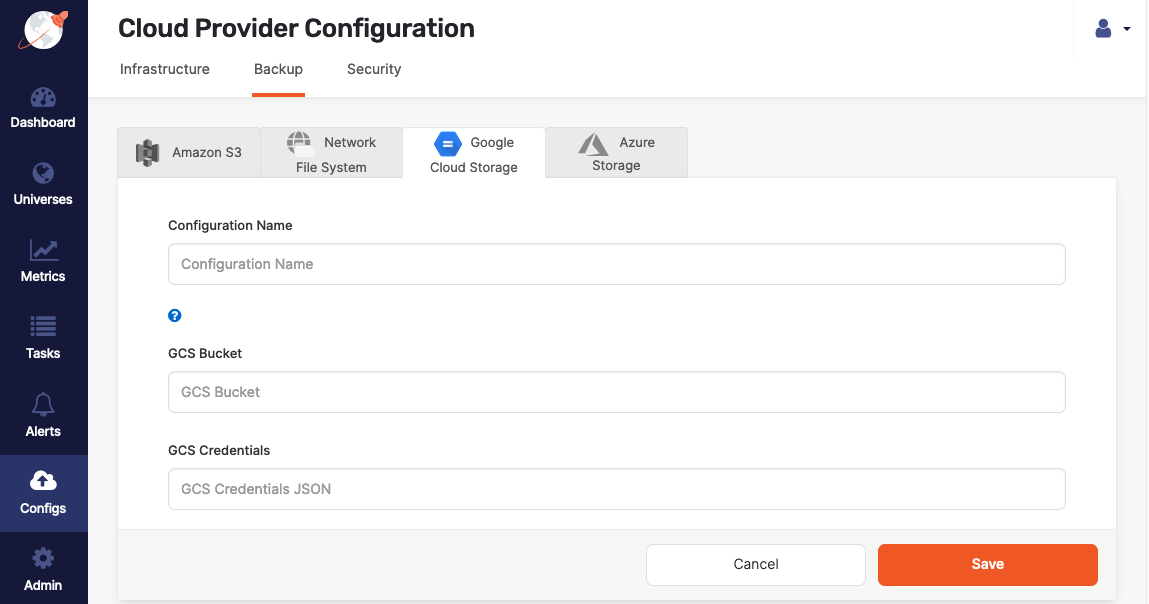
-
Click Save.
Azure Storage
You can configure Azure Storage as a backup target as follows:
-
Select Configs > Backup > Azure Storage, as per the following illustration:
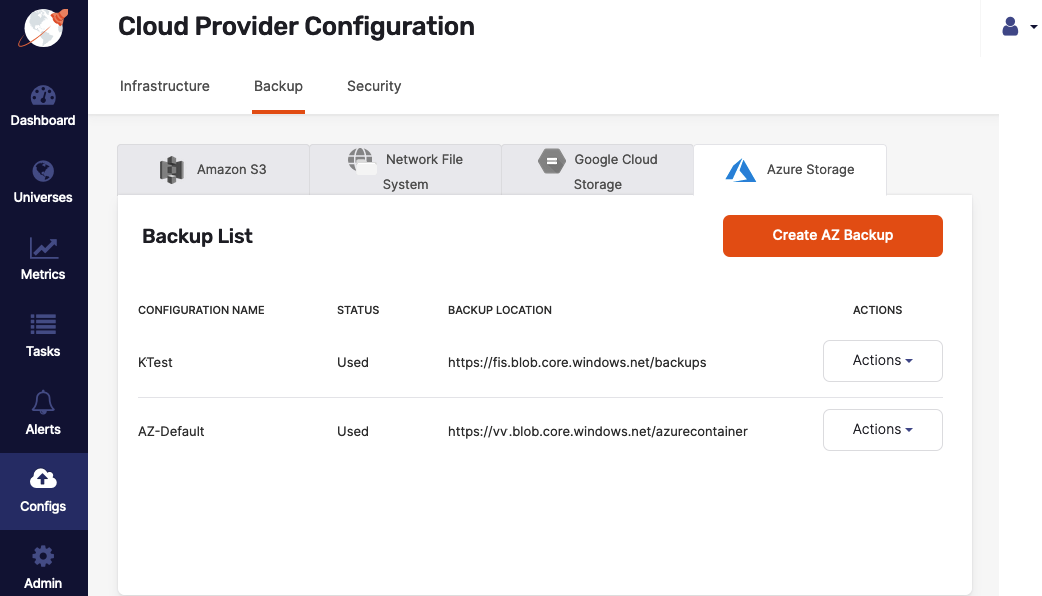
-
Click Create AZ Backup.
-
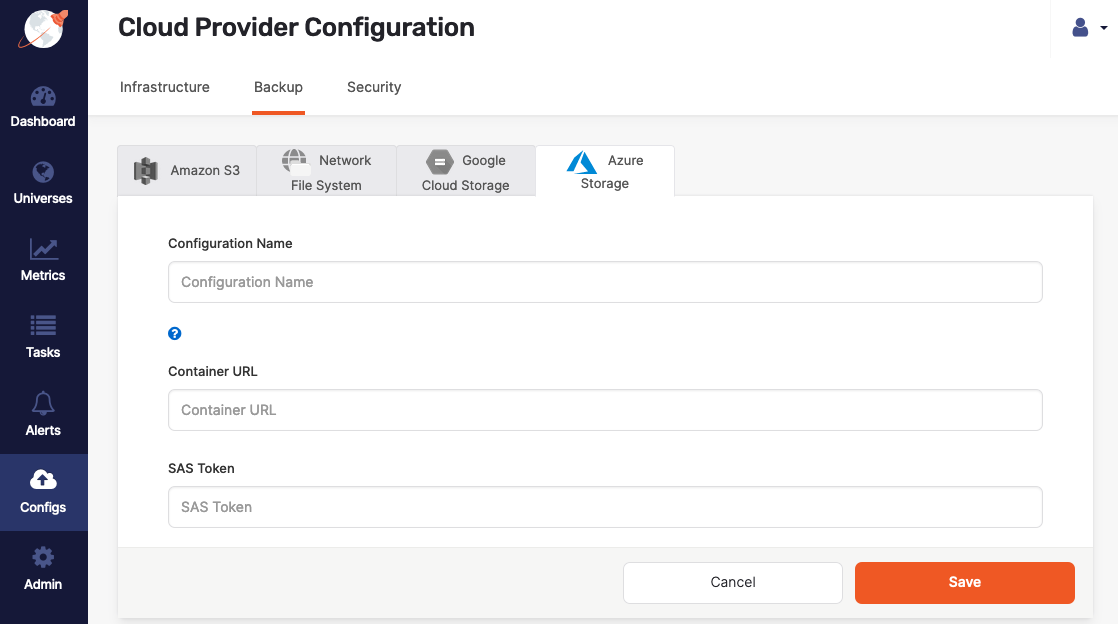
Complete the form shown in the following illustration:
-
Click Save.