Place YB-Masters on dedicated nodes
The default behavior when creating a universe is to locate YB-Master and YB-TServer processes on the same node. However, in some situations it's desirable to isolate the two processes on separate nodes, and dedicate additional resources to the YB-Master processes.
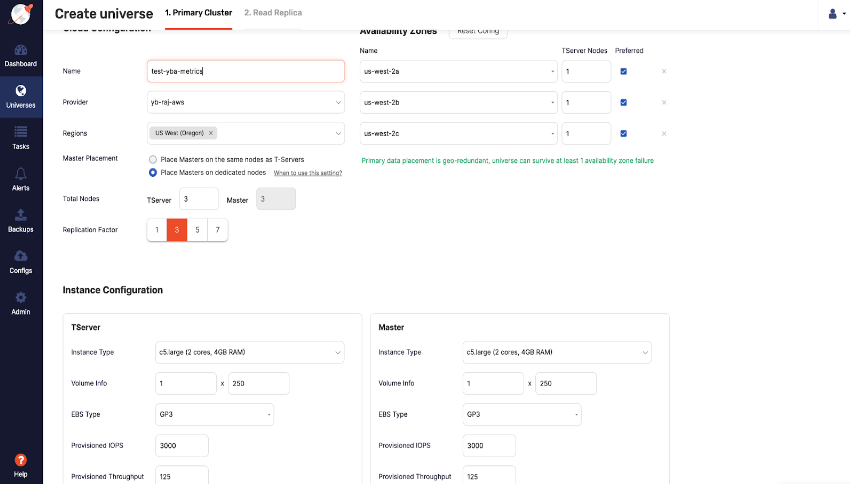
To place YB-Masters on dedicated nodes, you use the Place Masters on dedicated nodes option when creating a universe.
Use cases
YB-Master processes handle database metadata and coordinate operations across YB-TServers. This includes keeping track of system metadata, coordinating DDL operations, handling tablet placement, coordinating data sharding and load balancing, and so on.
While these are normally lightweight operations and by default operate on shared hardware with the data-intensive YB-TServer processes, some situations require more resources for the YB-Master process, and you may want to dedicate nodes to the YB-Masters.
For example, the following use cases may benefit from placing masters on dedicated nodes:
- A multi-tenant cluster comprising thousands of databases.
- A single database with 60000+ tables.
- A TPC-C benchmark exercise with a large number of warehouses.
How many dedicated master nodes are required?
A YugabyteDB universe requires a number of YB-Master servers equal to the replication factor (RF). A YugabyteDB universe with an RF of N requires N YB-Masters, and therefore N dedicated nodes for YB-Masters.
Shared and dedicated node placement
When creating a universe, you have the following two options for YB-Master process placement:
-
Place Masters on the same nodes as T-Servers (Shared): In this mode, 15% of the total memory available on the node goes to YB-Master and 85% goes to YB-TServer. The memory allocation can be overridden using the
default_memory_limit_to_ram_ratioflag. -
Place Masters on dedicated nodes (Dedicated Masters): In this mode, nodes dedicated to Master processes are selected at the time of "Create Universe" (or equivalently, during the
/universe_configureREST API call). Placing YB-Masters on dedicated nodes eliminates the need to configure or share memory.
For an existing universe, assigning new YB-Masters will start the new YB-master nodes and stop any existing ones.
The dedicated master placement feature:
- applies to universes created via most cloud providers (such as AWS, GCP, Azure, and On-Premises), except the Kubernetes cloud provider.
- does not apply to Read Replicas, which have only YB-TServers.
Enable the Enable dedicated nodes configuration option
By default, YB-Masters are located with YB-TServers. To change this behavior, you first need to enable the Enable dedicated nodes configuration option in YugabyteDB Anywhere so that the option is available when creating universes.
Configure YugabyteDB Anywhere to display the Enable dedicated nodes option as follows:
-
Navigate to Admin and under Advanced, select the Global Configuration tab.
-
Search for "dedicated" in the Search box to display the Enable dedicated nodes configuration option.
-
Select Actions dropdown beside Enable dedicated nodes, click Edit Configuration and select True from the dropdown for Config Value.
Create a universe with dedicated YB-Master nodes
Before you start creating a universe, ensure that you performed steps applicable to the cloud provider of your choice, as described in Configure cloud provider, and enabled the configuration option.
To create a universe with dedicated YB-Master nodes, do the following:
-
Navigate to Universes, click Create Universe, and enter the following configuration details in the universe creation form:
-
In the Name field, enter a name for your cluster.
-
In the Provider field, select the cloud provider you configured.
-
In the Regions field, select the regions where you want to deploy YB-TServer nodes.
-
In the Master Placement field, select the Place Masters on dedicated nodes checkbox.
-
In the Total Nodes field, enter 3 for TServer. The Master field is always disabled because the number of master nodes is always equal to the Replication Factor.

-
For Instance Configuration,
-
Select similar Instance Type for TServer and Master.
-
Select similar Volume Info for TServer and Master.
-
Select similar EBS Type for TServer and Master.
-
-
In the YSQL password field, enter a password and the same for Confirm Password field.
-
For Authentication Settings, disable the Enable YCQL Auth field.
-
In the DB version field, select the appropriate database version.
-
-
Click Create.
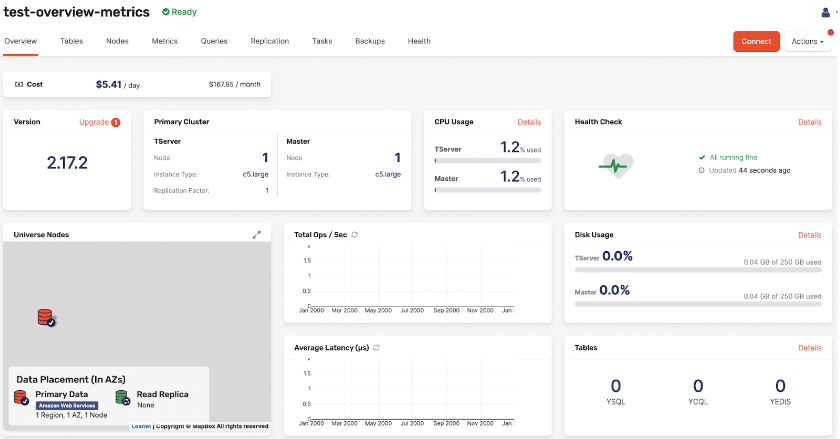
At this point, YugabyteDB Anywhere begins to provision your new universe in a dedicated mode where you will be able to view separate YB-Master and YB-Tserver nodes. When the universe is provisioned, it appears on the Dashboard and Universes. You can click the universe name to open its Overview.

Examine the universe
When the universe is created, you can access it via Universes or Dashboard.
To see a list of nodes that belong to this universe, select Nodes. You can also filter the nodes by selecting an option from the Type dropdown.

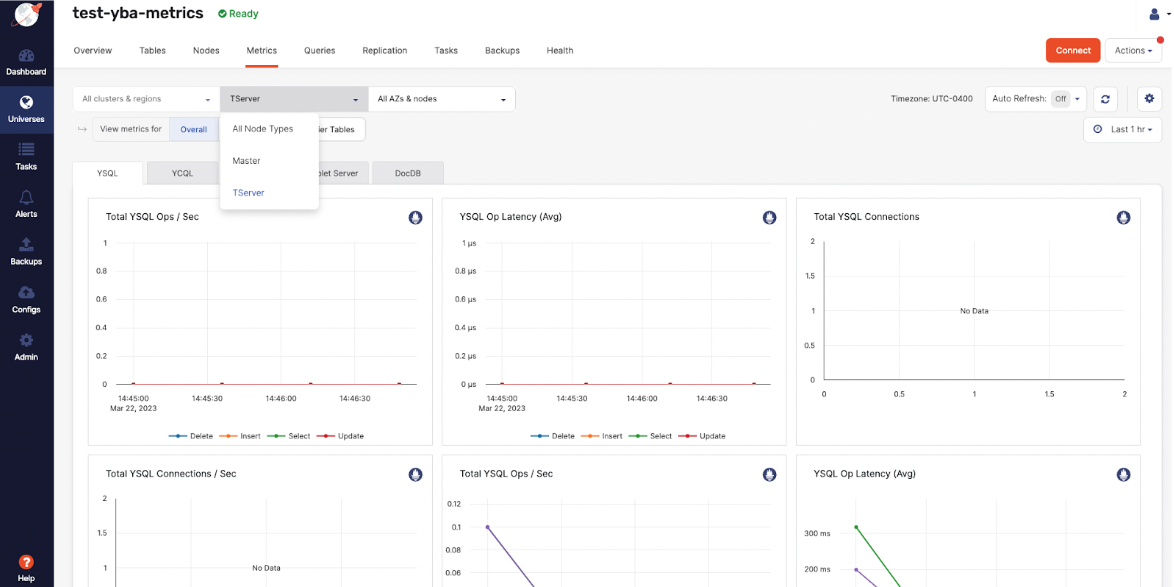
You can verify the overall performance of the dedicated nodes universe by navigating to Metrics.
