Upgrade the YugabyteDB software
The YugabyteDB release that is powering a universe can be upgraded to get new features and fixes included in the release.
Before starting the upgrade:
-
If you're upgrading a universe from v2.15.x or earlier to v2.16.0 or later, ensure that port 18018 is open on all YugabyteDB nodes so that YB Controller (introduced in v2.16.0) can operate.
-
Consider importing a specific YugabyteDB release into YugabyteDB Anywhere, as follows:
-
Click the user profile icon and select Releases.
-
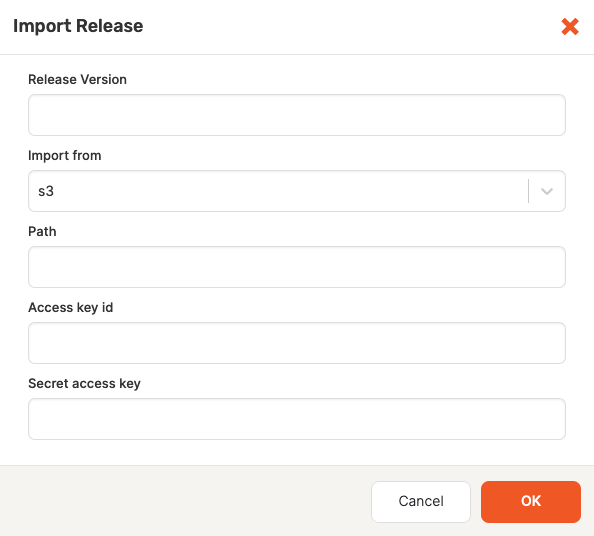
Click Import to open the Import Releases dialog shown in the following illustration:

-
Specify the release version to import.
-
Select the storage or URL that contains the release. If the release is located on Amazon S3, you would need to provide the access information; if the release is located on Google Cloud Storage, you would need to copy and paste the contents of the JSON file with the access credentials; if the release is accessible via a HTTP, you would need to specify the checksum value of the download.
-
Provide the path to the storage location.
-
Click OK.
-
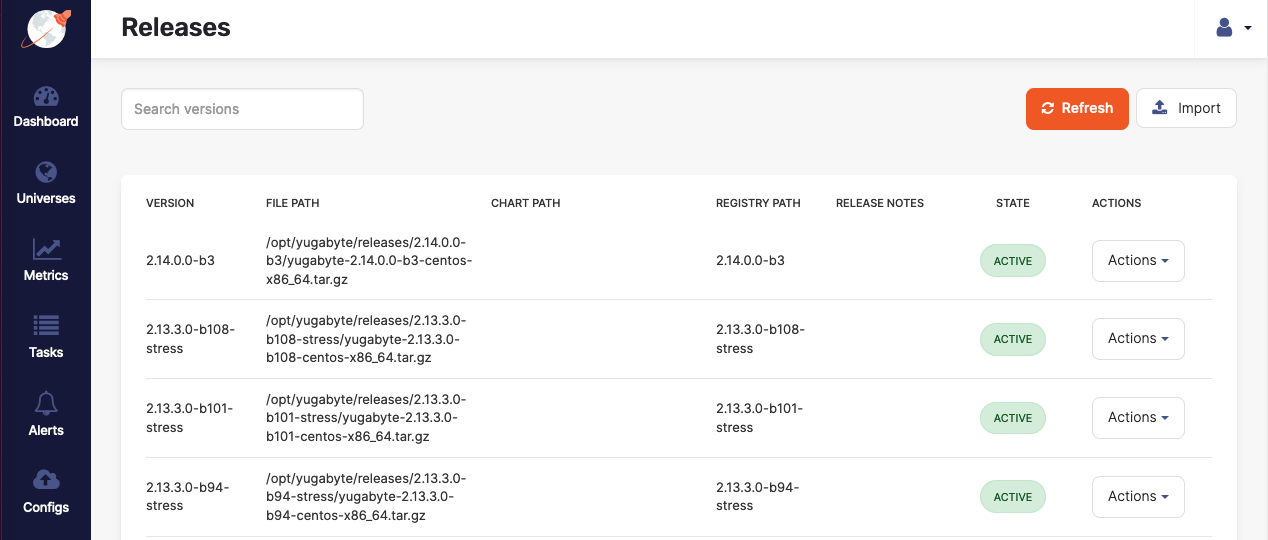
When imported, the release is added to the Releases list shown in the following illustration:

To delete or disable a release, click its corresponding Actions.
You can perform a rolling upgrade on a live universe deployment as follows:
-
Navigate to Universes and select your universe.
-
Click Actions > Upgrade Software.
-
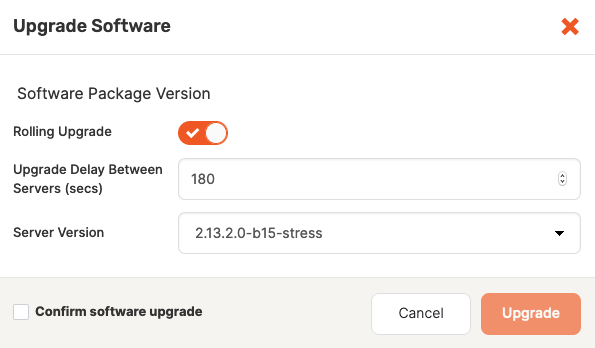
In the Upgrade Software dialog, ensure that Rolling Upgrade is enabled, define the delay between servers or accept the default value, and then use the Server Version field to select the new YugabyteDB version, as per the following illustration:

To trigger an upgrade that involves downtime, deselect Rolling Upgrade.
For information on how rolling upgrades are performed in YugabyteDB, see Upgrade a deployment.
Note
Currently, you cannot downgrade a universe to an older YugabyteDB release. For assistance with downgrades, contact Yugabyte Support.For manually-provisioned on-premises universe upgrades
If you are performing a software upgrade on a universe whose cloud provider is of the type On-Prem and is manually-provisioned, then the following steps are additionally required to install YB Controller manually after the otherwise-automated software upgrade procedure completes; YB Controller was newly introduced in YB Anywhere 2.16.0, and is required for YB Anywhere 2.16.0 and later.
The workaround is to explicitly install the YB Controller by calling the following API after the software upgrade:
curl --location --request PUT '<YBA-url>/api/v1/customers/<customerID>/universes/<UniverseID>/ybc/install' \
     --header 'X-AUTH-YW-API-TOKEN: <YBA-api-auth-token>'
To view your Customer ID and API Token, click the Profile icon in the top right corner of the YugabyteDB Anywhere window.
You can view your Universe ID from your YugabyteDB Anywhere universe URL (<YB-Anywhere-IP-address>/universes/<universeID>).